Editor - Application Level
Before you read this page you should read Document Level
Excel Add-in with a Custom Ribbon
This ribbon customisation will be accessible from any workbook.
To create an Excel add-in you must first create a regular Excel workbook.
Create a new workbook and save it as a macro-enabled workbook (AddinRibbon-Editor.xlsm).
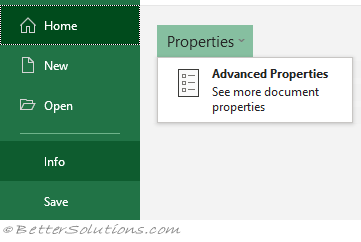
Select (File > Info) and select the Properties drop-down. Choose Advanced Properties.
 |
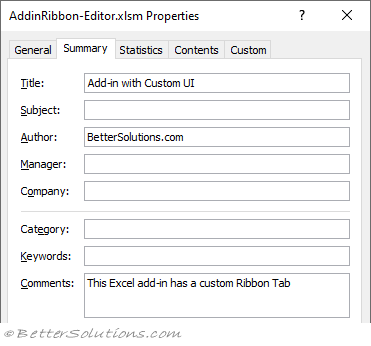
There are two document properties that are responsible for displaying the name and the description of your add-in.
The Title box is the name of your add-in.
The Comments box is the description of your add-in.
 |
Adding a Macro
Every command that is added to your custom ribbon needs to have a corresponding event handler.
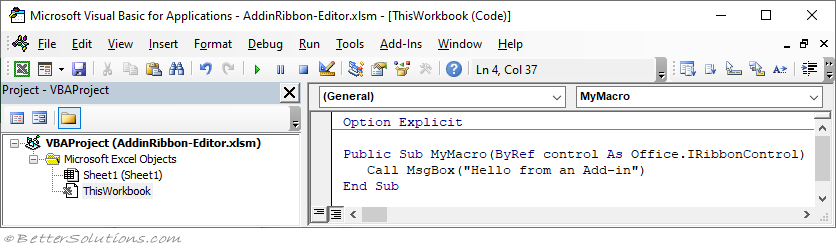
Open the Visual Basic Editor and add the following code to the ThisWorkbook code module.
After you have inserted the VBA code save the workbook.
Public Sub MyMacro(ByRef control As Office.IRibbonControl)
   Call MsgBox("Hello from an Add-in")
End Sub
 |
Save as Excel Add-in (".xlam")
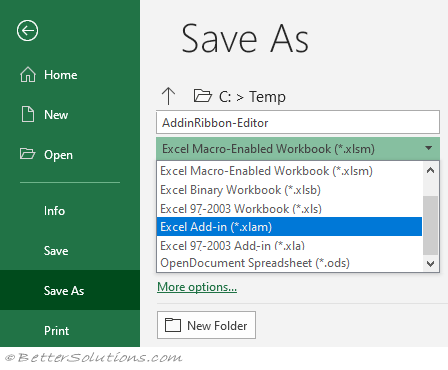
Select (File > Save As).
Change the file type drop-down to "Excel Add-in (*.xlam)".
You must change the file type first because when you do the folder location will automatically change to a "C:\Users\" subfolder.
Change the folder location to "C:\Temp\".
 |
Open the Add-in
Open the Custom UI Editor by double clicking on the following file:
C:\Program Files\CustomUIEditor\CustomUIEditor.exe
Select (File > Open) and browse to your AddinRibbon-Editor.xlam file.
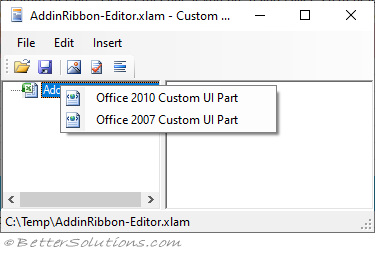
Add the corresponding customui file.
Right click on the entry and choose one of the following:
Office 2010 Custom UI Part - Select this one if you are using Office 2010 or later (inserts customUI14.xml)
Office 2007 Custom UI Part - Select this one if you are using Office 2007 (inserts customUI.xml)
 |
Add the Ribbon XML
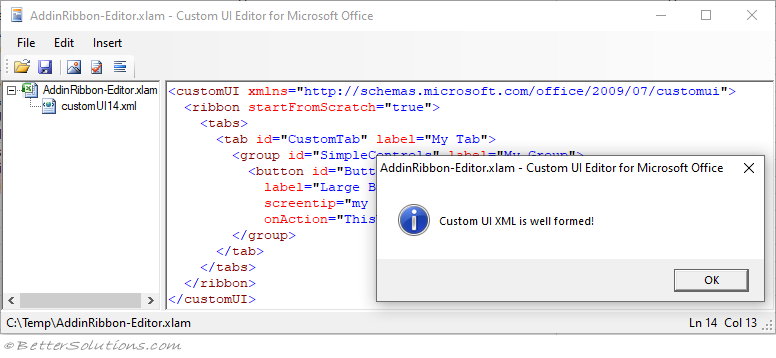
Copy and paste the xml tags below into the window.
<customUI xmlns="http://schemas.microsoft.com/office/2009/07/customui">
  <ribbon startFromScratch="false">
    <tabs>
      <tab id="CustomTab" insertBeforeMso="TabHome" label="My Add-in">
        <group id="SimpleControls" label="My Group">
          <button id="Button1" imageMso="PictureCorrectionsMenu" size="large"
            label="Large Button"
            screentip="my long description"
            onAction="ThisWorkbook.MyMacro"/>
        </group>
      </tab>
    </tabs>
  </ribbon>
</customUI>
The tags will be formatted automatically once they have been pasted in.
Press the Validate button on the toolbar to check the XML is well formed.
 |
Save Changes and Load
Select (File > Save) and close the CustomUI Editor.
Close Excel and Re-Open Excel.
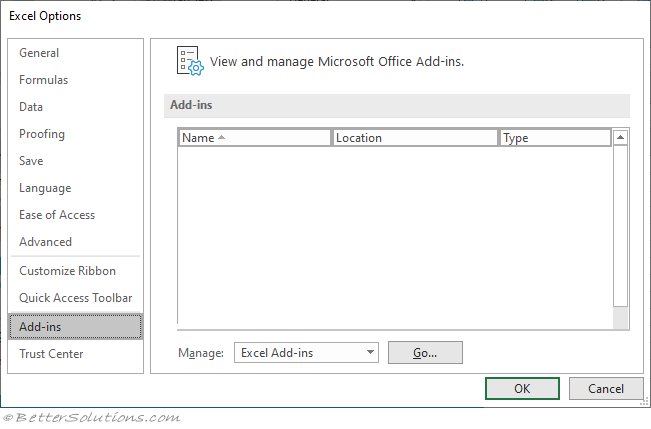
Select (File > Options) and select the Add-ins tab.
Change the Manage drop-down at the bottom to "Excel Add-ins" and press Go.
 |
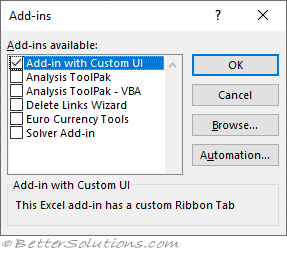
Select the Browse button and select the AddinRibbon-Editor.xlam file.
Your new add-in will be added to the list.
Notice that the corresponding description will be displayed below.
 |
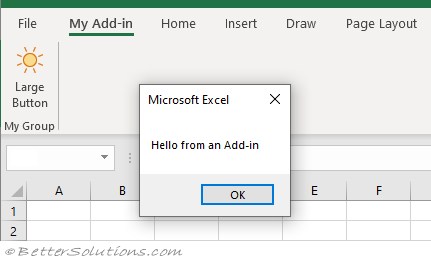
New Tab
A new tab called "My Add-in" will be displayed before the Home tab.
When you click on the button you will see this message appear.
 |
© 2024 Better Solutions Limited. All Rights Reserved. © 2024 Better Solutions Limited TopPrevNext