Getting Started
It is very easy to record a macro with the Macro Recorder and to create other macros of your own using the Visual Basic Editor.
The Macro Recorder is a very useful tool that can be used to generate the VBA code for you.
Even when you become an expert at programming in VBA you will still use this tool.
The Visual Basic Editor is a development environment that tells you immediately if there are mistakes in your code.
You will use this Editor to test your macros line by line and edit and modify the code at a later date.
Once you have a basic understanding you will be able to copy all the macros available on the internet and use them in your own workbooks.
The Visual Basic Editor (VBE)
The Visual Basic Editor is a program that is built in to Excel, Word, PowerPoint and Outlook desktop versions.
Every user that has Excel installed on a device can access and open the Visual Basic Editor.
When you want Excel to do some work for you, you open the Visual Basic Editor and you write the instructions using the VBA programming language.
Any VBA code you record, or write, in the VBA Editor will become part of the workbook.
When the workbook is shared or sent to someone else, the VBA code will stay with the workbook.
To help you access the VBA Editor quickly you should have the Developer Tab displayed permanently in Excel.
Select (File > Options > Customise Ribbon) Tick the Developer tab.
 |
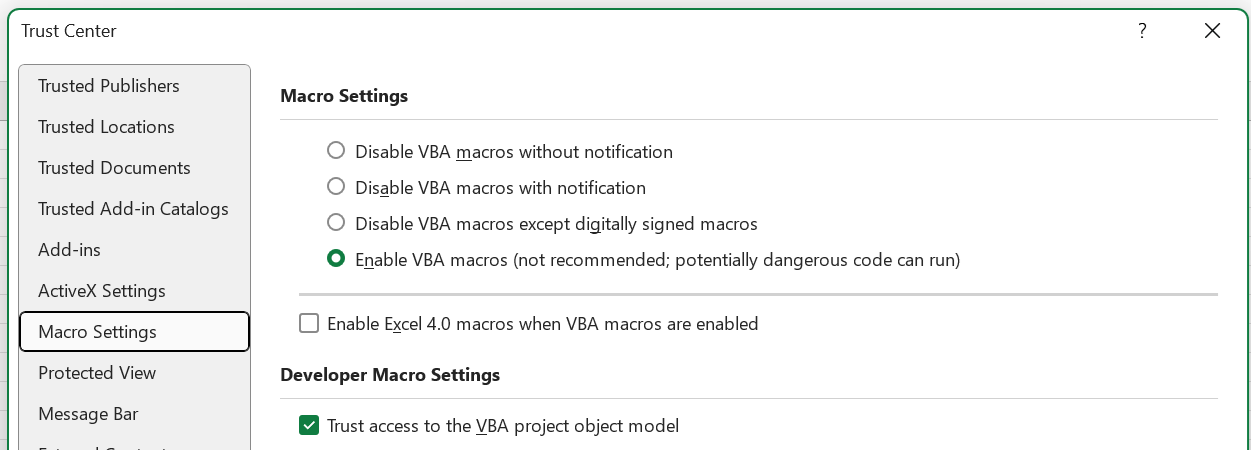
Once the Developer Tab appears press the "Macro Security" button.
Choose the last option "Enable VBA Macros with Notification" and you are set.
 |
To display the VBA Editor you can press the Visual Basic button on the Developer tab or press (Alt + F11).
You can also use (Alt + F11) to toggle between the Office application and the VBA Editor.
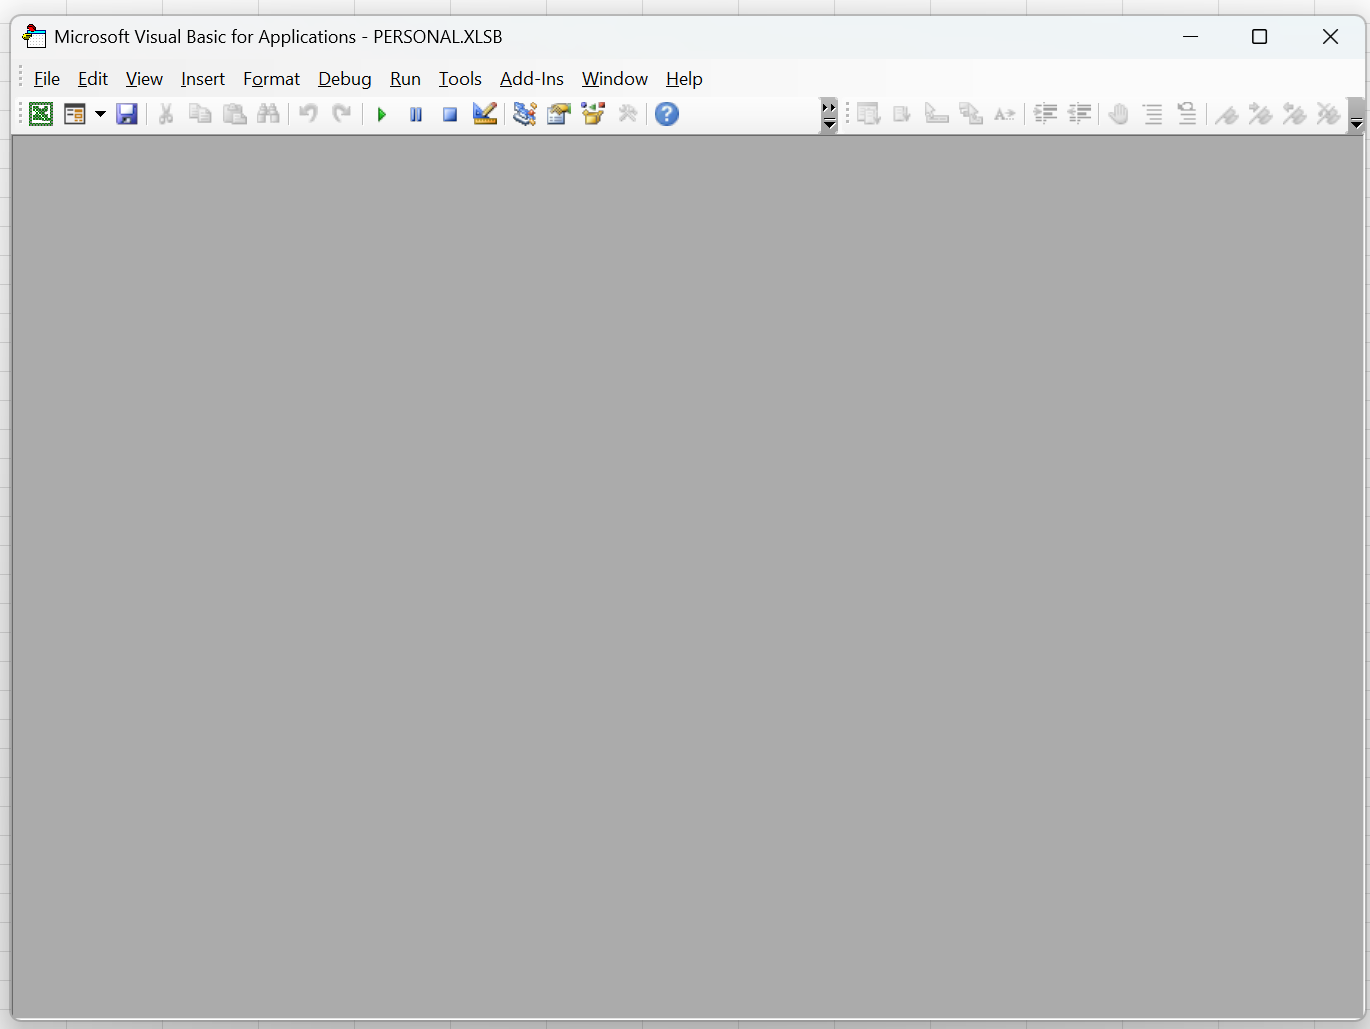
This screenshot shows the Visual Basic Editor without any windows open.
 |
There are 3 important windows that you will constantly be using.
Project Explorer - This displays a hierarchical list of the projects and all of the items contained and referenced by each project.
Properties Window - This window allows us to change some of the properties associated with an object at design time.
Code Window - This displays the code associated with the item selected in the Project Explorer window.
Organising the Windows
Select (View > Project Explorer).
The Project Explorer window should be displayed as a column on the left side of the application.
If the window appears in the middle of the gray area, right-click in the white space and check "Dockable".
Then click on the top blue bar of the Project Explorer window and drag it to the left until the cursor touches the middle of the left side of the screen.
Let go of the mouse and the window should be displayed on the left.
Move your cursor on the line separating the project window and the gray rectangle, hold and move the line sideways.
 |
Select (View > Properties Window).
The Properties window should be displayed below the Project Explorer window.
If the window appears in the middle of the gray area, select "Dockable" and drag the window to the bottom left corner.
 |
Select (View > Code).
To open the code window you could also double click on the name of a component in the Project window (Sheet1, Sheet2, Sheet3 or ThisWorkbook).
You can maximize any Code window by clicking on its "Maximize" button.
Once this has been done your VBA Editor should look like this.
 |
Close the VBA Editor and close Excel. No need to save anything.
Reopen Excel and press (Alt + F11). You will see the three windows in their correct position.
The Project Window
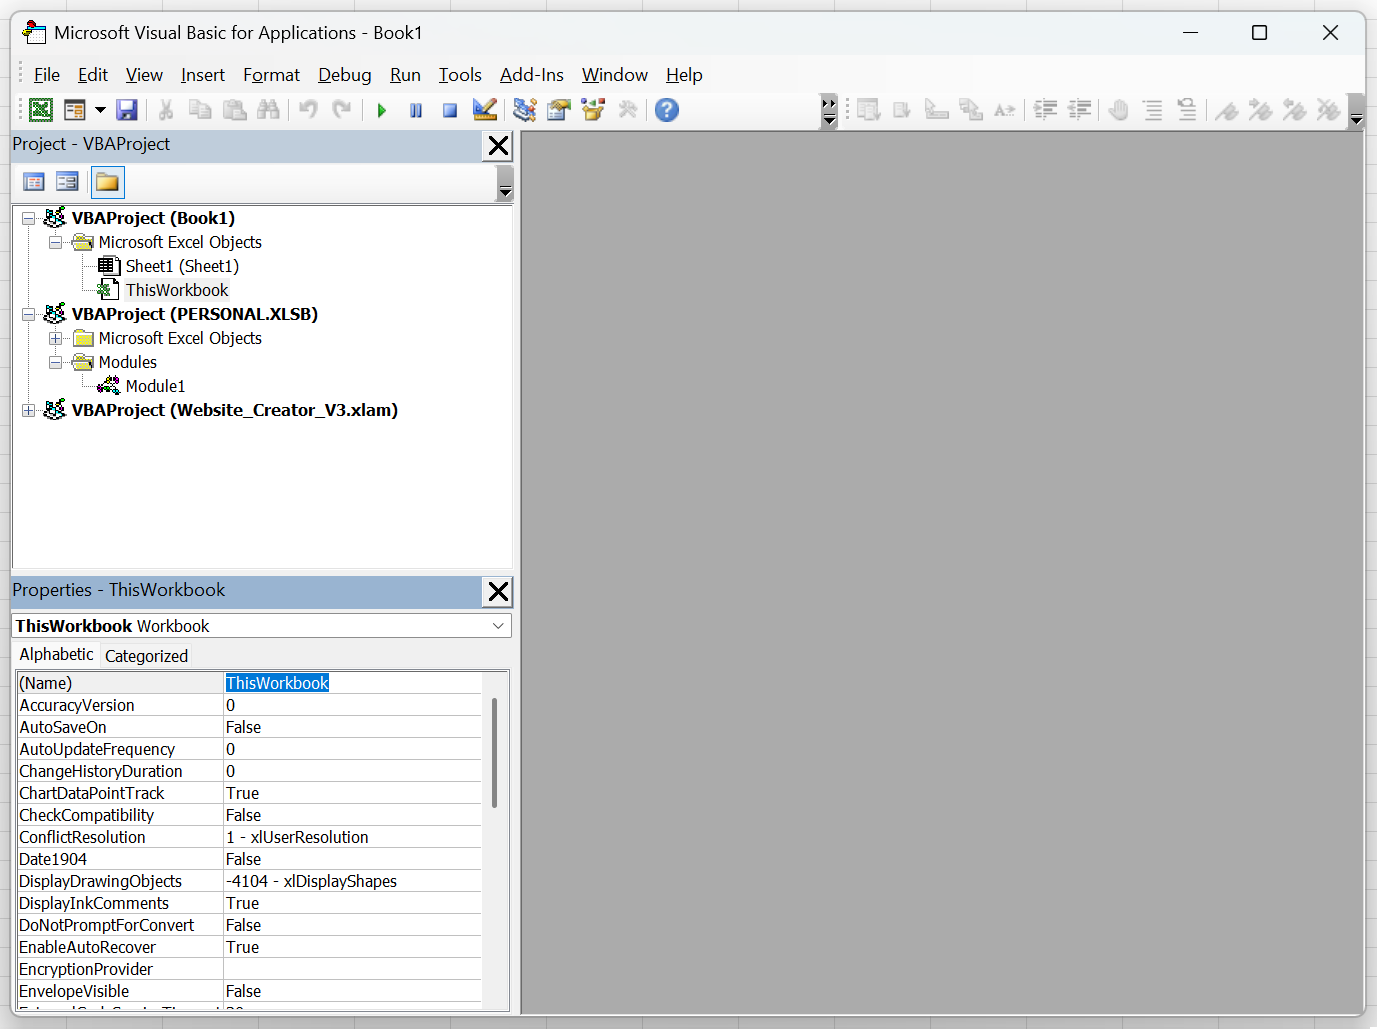
The Project window displays a full list of all the workbooks that are currently open, and their corresponding components.
In the screenshot below, the Project window shows there is only one workbook open called "Book1".
You can use the + and - signs to show the details.
A new Excel workbook normally includes 3 sheets and another component named "ThisWorkbook".
 |
Using the (Alt + F11) key go back to Excel.
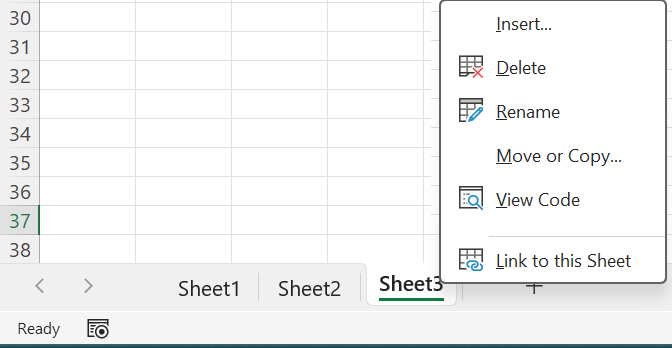
Lets add another sheet to this workbook.
Right-click on the tab of Sheet3 and select "Insert". Press OK.
 |
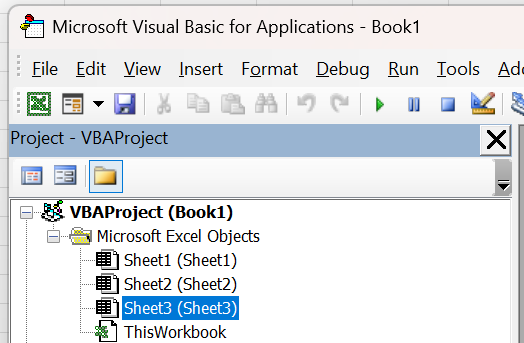
Using the (Alt + F11) key go back to the Visual Basic Editor and see that another sheet has also been added to the VBAProject.
Notice that the worksheets are sorted alphabetically in the Project window even if they are not in alphabetical order in the workbook.
The Properties Window
The Properties window shows you the properties of the component that is selected in the Project window.
If you click on "Sheet1" in the Project window you see the properties of this particular worksheet.
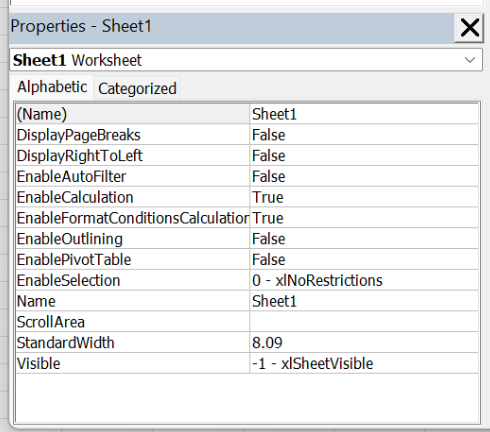 |
A worksheet has 13 properties that you can change in this Properties window.
Notice that there are 2 Name properties.
The first property is called (Name) and this refers to the programmatical name of the sheet.
The tenth property is called Name and this refers to the worksheet name that appears in Excel.
Switch back to Excel and change the name of the "Sheet1" tab to "Monday".
Switch back to the Visual Basic Editor to see the changes.
In the Properties window you will see that the property "(Name)" has not changed, but the property "Name" has changed.
 |
In the Visual Basic Editor click on "Sheet2" in the Project window.
Use the Properties window to change the value of the property "Name" to "Tuesday" and press Enter.
Switch back to Excel to see that the worksheet name has been changed.
 |
The Code Window
The Code window is where most of the VBA work is done.
This is the window for writing, testing and modifying VBA code.
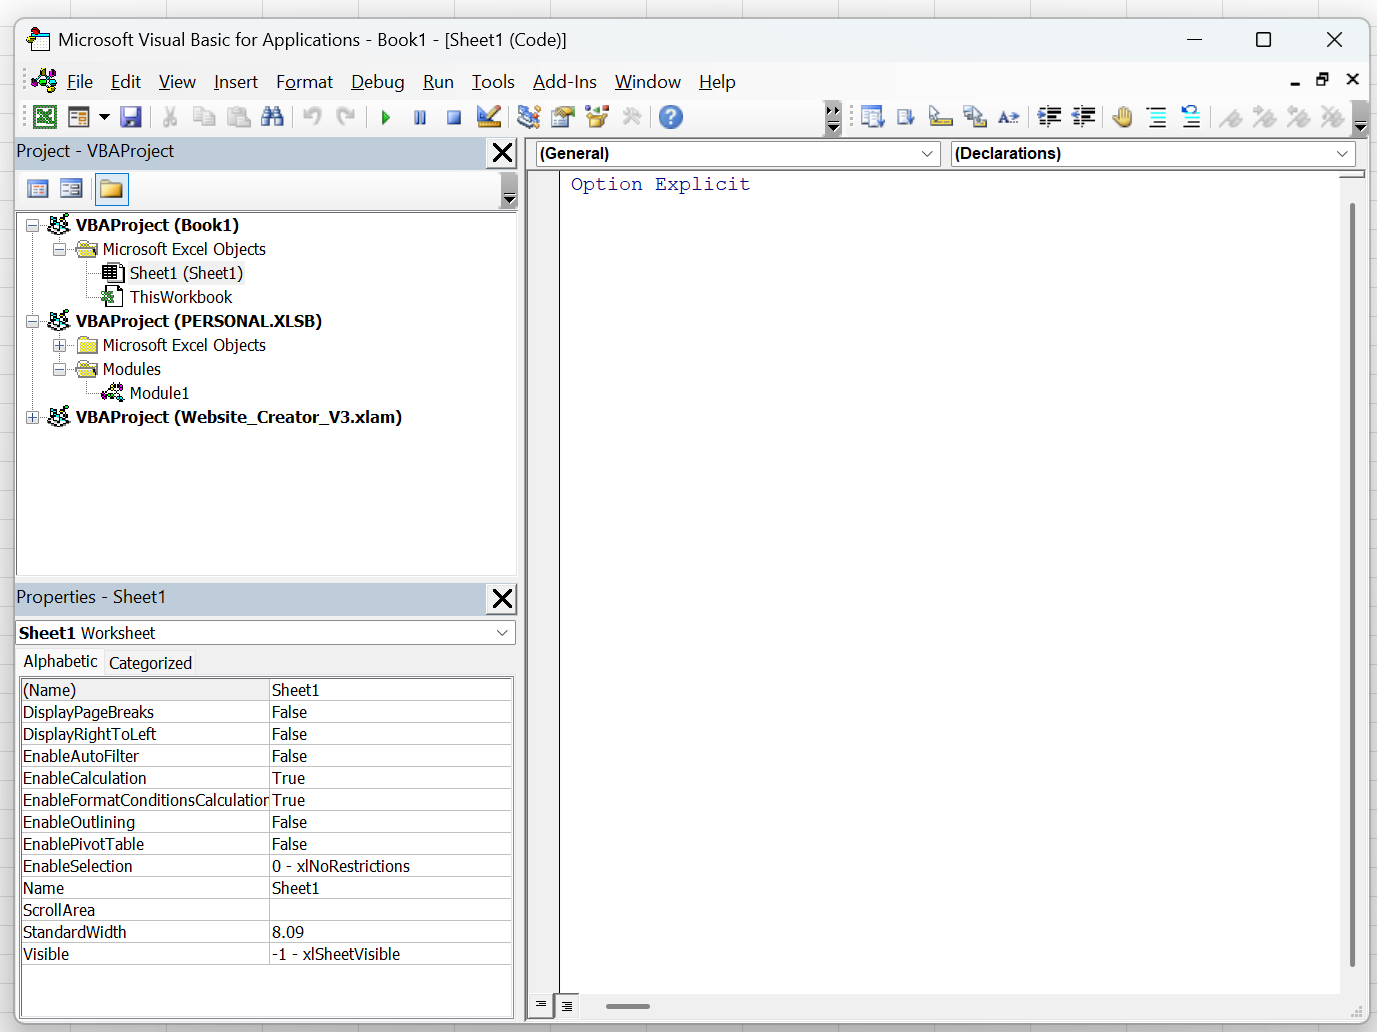
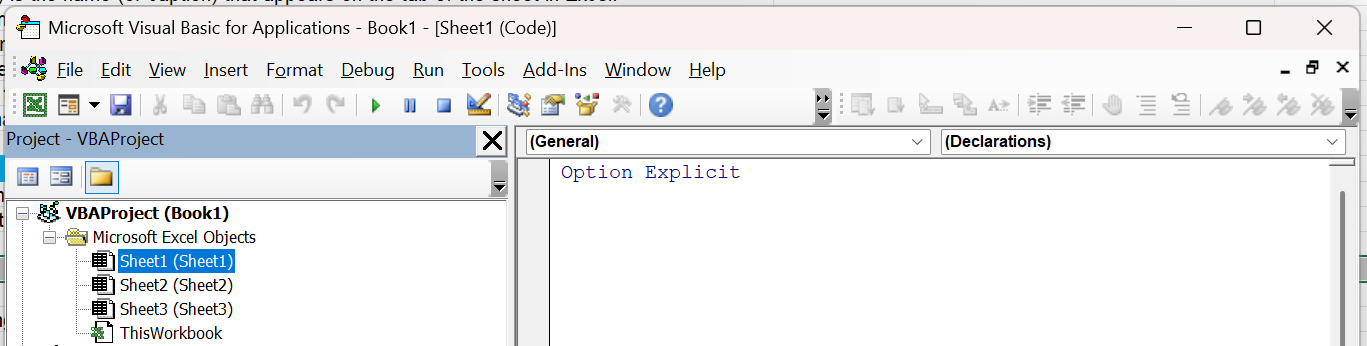
In the Visual Basic Editor, double click on "Sheet1" in the Project window. On the right is the Code window of "Sheet1".
Click anywhere in the Code window.
You can ignore the words "Option Explicit" that appears at the very top.
 |
Type this line of code into the Code window.
After entering the closing parenthesis press Enter.
You will see the following line of code added automatically.
Any code you write will appear in black by default and any reserved words are displayed in blue.
It is possible to change these formatting options but most people never do.
Enter the other lines of code between these two lines.
Make sure that everything is typed exactly, including all the quotation marks, periods, parentheses, equal signs and spaces.
Switch to Excel and make sure that the "Monday" tab is selected.
Switch back to the Visual Basic Editor and place the cursor on any line of code.
Select (Run > Run Sub/Userform).
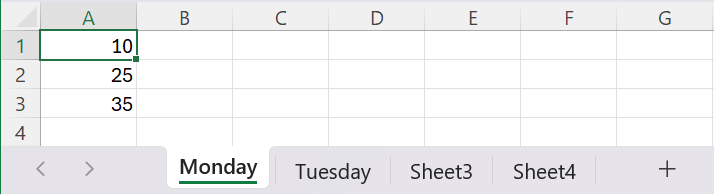
Switch to Excel and see what has happened to cells A1, A2 and A3.
The value of cell "A1" is 10, the value of cell "A2" is 25 and there is a formula in cell "A3" that adds up the values in cells "A1" and "A2".
Cell "A1" is currently selected.
 |
Clear the cells A1, A2 and A3 on this tab.
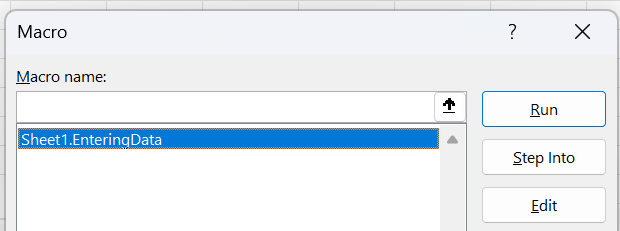
On the Developer tab, select Macros, select "Sheet1.EnteringData" and press Run.
 |
You have just run the macro from the ribbon in Excel.
Developing Macros in Excel
In the previous example we added a macro to the code module that sits behind the Sheet1 worksheet.
Here we are going to add a macro to the workbook and put this macro into an independent code module.
Right mouse click on the VBAProject name and select (Insert > Module).
 |
This will add a new folder to your VBA Project underneath, called "Modules".
A code module called "Module1" will appear under here.
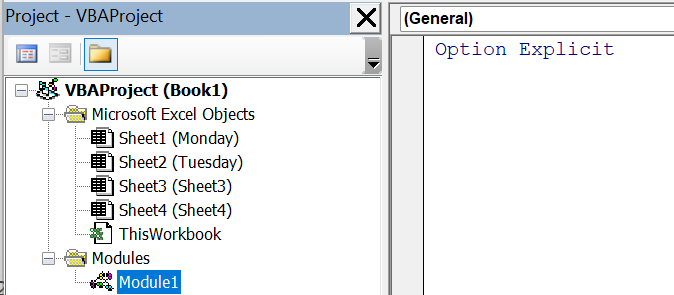 |
Enter "sub ReadingData()" without using a capital "S" at the beginning of "sub".
After entering the closing parenthesis press Enter.
You will see the "End Sub" line of code added automatically (like it was in the previous example).
You will also notice that "sub" has been automatically changed to "Sub".
It is worth mentioning that the Editor has an Automatic Capitalisation feature.
You will also see that the cursor appears on the blank line in the middle, ready for you to add some code.
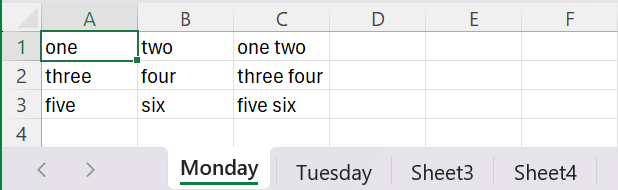
Enter the following code into the "Module1" code module.
This displays the "Monday" tab.
It then selects cell "A1".
The "Do Until" loop will continue to move down column "A" until it finds an empty cell.
While it is doing this it will concatenate the value in column "A" with the value in column "B".
These two values will be seperated by a space and placed in column "C" (in the same row).
Once the macro reaches the end, it will then select cell "A1".
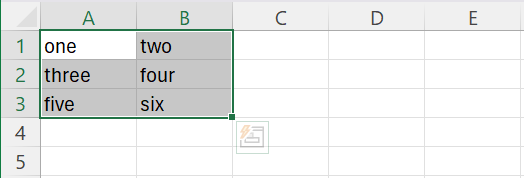
Enter the following values into cells "A1", "A2", "A3", "B1", "B2" and "B3" on the "Monday" tab.
 |
Place the cursor on any line of code inside this subroutine.
Select (Run > Run Sub/UserForm).
Switch back to Excel to see the results.
 |
Run this again (using the ribbon) with different values in columns "A" and "B".
On the Developer tab, select Macros, select "Sheet1.ReadingData" and press Run.
Testing Macros in Excel
It is possible to step through code one line at a time.
Switch back to the Visual Basic Editor and place the cursor on any line of code.
Press the F8 key at the top of your keyboard.
The Editor will highlight the first line of the subroutine in yellow.
 |
Pressing F8 again will execute the line of code that is highlighted in yellow.
Keep pressing F8 and at the same time keep an eye on Excel to see the corresponding changes.
While you are stepping through the code you can stop execution at any time by selecting (Run > Reset).
The Macro Recorder
One of the most useful features when learning VBA is the Macro Recorder
When switched on, Excel will automatically keep track of all your actions and generate the corresponding VBA code for you.
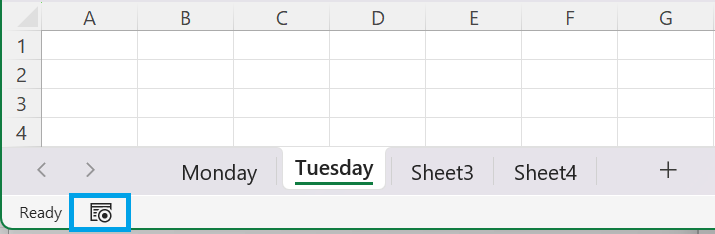
Select the "Tuesday" tab.
To start recording your steps press the button in the bottom left corner.
 |
The "Record Macro" dialog box will be displayed.
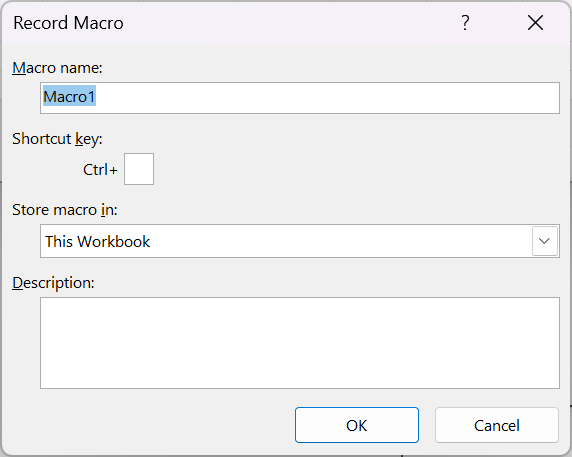 |
Press OK to start recording.
The button (in the left corner) will change to indicate that you are recording.
 |
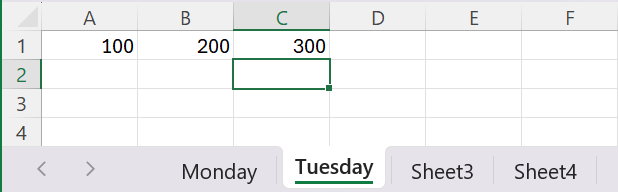
We are going to record 3 steps and then stop recording.
Select cell "A1". Enter the value 100 and press Enter.
Select cell "B1". Enter the value 200 and press Enter.
Select cell "C1". Enter the formula "=A1+B1" and press Enter.
 |
After completing the steps, we can stop recording, by pressing on the button again.
|
The following task pane will be displayed confirming that the macro has been recorded successfully.
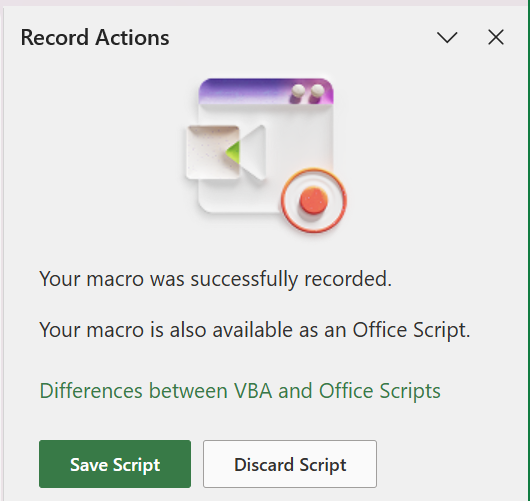 |
This task pane can be closed without pressing any of the buttons.
Switch back to the Visual Basic Editor.
Another code module has been added, called "Module2".
Double click on "Module2" in the Project window to display this code module.
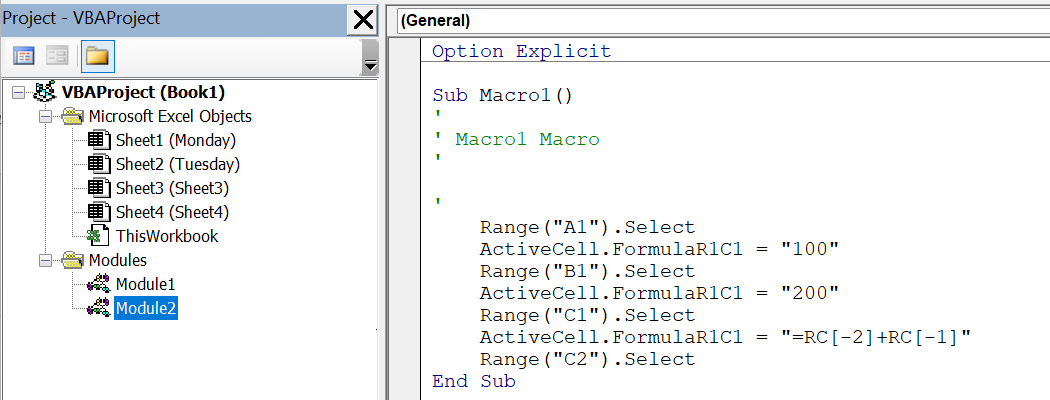 |
The automatically generated VBA code corresponds to these 3 steps has been placed in a subroutine called "Macro1".
Change the value 100 to 1000 and the value 200 to 2000.
Do not make any other changes to the code.
Switch back to Excel and clear the contents of cells A1, B1 and C1.
On the Developer tab, select Macros, select "Macro1" and press Run.
Using a Built-in Event
Macros can be triggered from built-in events.
The most commonly used events fire when:
* a workbook is opened
* a particular worksheet is selected
* a particular cell is selected
* or the value in a particular cell changes
Close all your existing Excel workbooks and close Excel.
Reopen Excel and press (Alt + F11) to display the Visual Basic Editor.
In the Project window double click on "ThisWorkbook".
 |
Copy and paste this code into the corresponding code window.
Press (Debug > Compile VBAProject) to check if there are any mistakes in the code.
Save and close the workbook.
When you reopen the workbook you will see a message box appear saying "Data added".
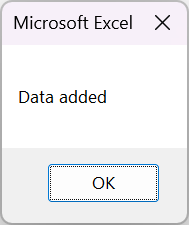 |
This confirms that our macro automatically ran when the workbook opened.
Press OK to close the dialog box.
You will also see that cells A1, A2 and A3 have been automatically populated.
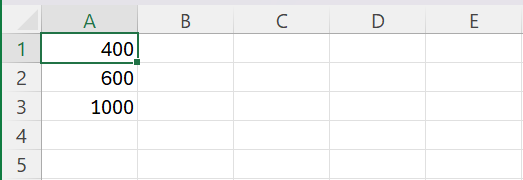 |
Pressing a Shape on the Worksheet
Macros can be triggered using various different worksheet objects.
The most common worksheet objects are shapes and buttons
Select the Insert tab and add a shape (for example, Rectangle) to the worksheet.
Right click on the object and select "Assign Macro".
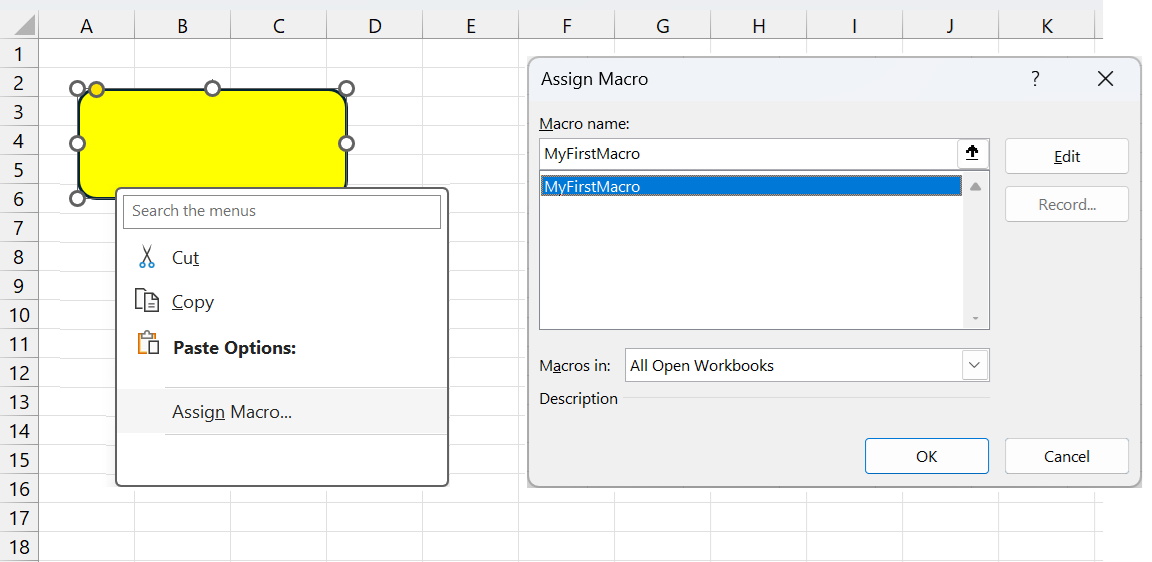 |
Choose the macro you want to run and press OK.
You can now click on this shape to trigger the macro.
Macros can be assigned to pictures, shapes, icons, smartart and even text boxes.
Adding Shortcut Keys to your Macros
Macros can be triggered using Shortcut Keys
Display the "Macro" dialog box (View tab, Macros, View Macros).
Select the macro and press Options, to display the "Macro Options" dialog box.
 |
Place the cursor in the small textbox and press (Shift + B).
Press OK to accept the shortcut key.
You can now use this shortcut key to trigger the macro.
If you have any Third Party add-ins installed your shortcut keys may already be assigned to something else.
More Information
If you have any questions or need any help, please get in touch with us.
Saving your macros in your Personal.xlsb
How to create an Excel add-in
© 2026 Better Solutions Limited. All Rights Reserved. © 2026 Better Solutions Limited TopPrevNext