Custom UI Editor - Custom Images
You can use the Custom UI Editor to embed custom images into a workbook file.
The best graphic format to use for custom images is PNG (portable network graphics) as it supports an alpha channel and results in small file sizes.
Images can be any size, although the following sizes are recommended: 16x16, 32x32
Create your custom Icon
Open MS Paint
Change the size to be 32x32 pixels.
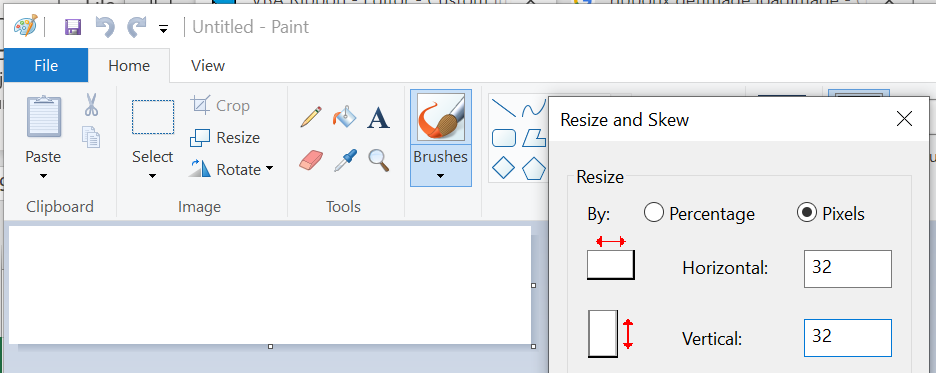 |
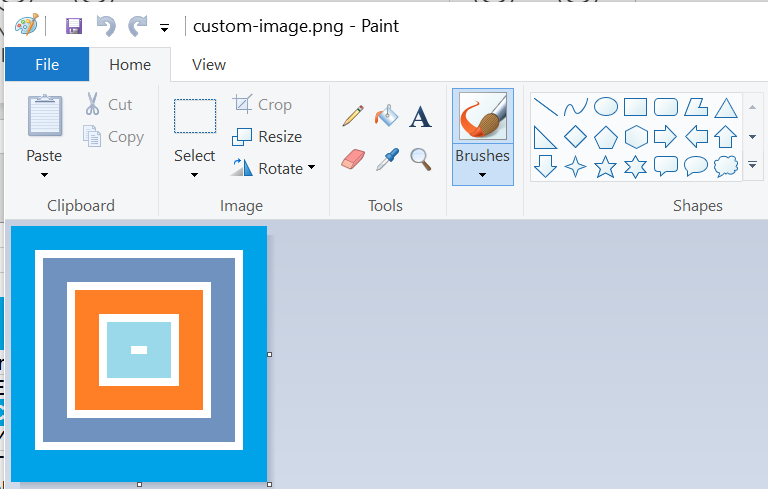
Create your icon and save it with the filename "custom-image.png".
The filename is the unique ID of the image.
 |
Add your custom Icon
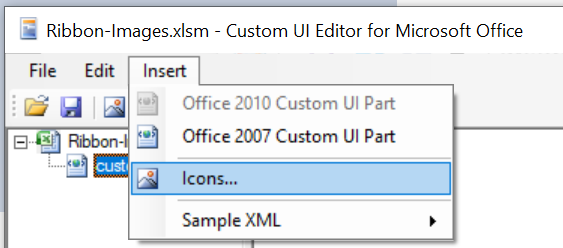
Right click on the "customUI14" file and choose "Insert Icons".
 |
Browse to your icon file.
Once you have found your "custom-image.png" file, press Open.
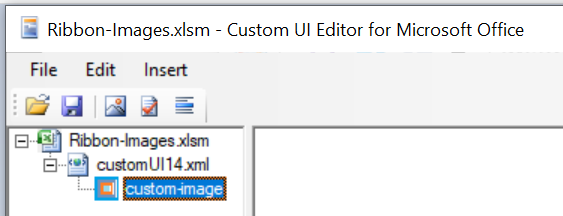
Expand the tree control to see your file added underneath the "customUI14" element.
A default ID is provided (defaults to the filename) but can be changed by right clicking on the icon.
 |
Add the Ribbon XML
Copy and paste the xml tags below into the window
The tags will be formatted automatically once they have been pasted in.
Select (File > Save) and close the Custom UI Editor.
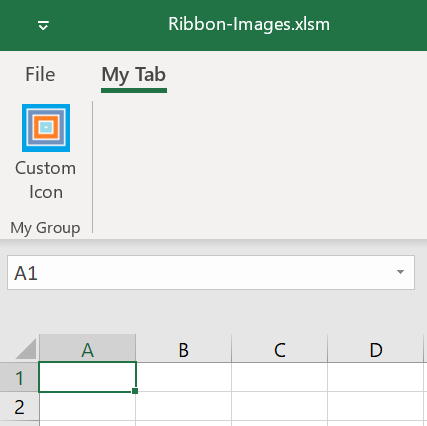
Open the Ribbon-Images.xlsm file.
 |
© 2026 Better Solutions Limited. All Rights Reserved. © 2026 Better Solutions Limited TopPrevNext