Example
In this example we are going to record a macro that applies some shading to the cells that are currently selected.
It is always worth rehearsing the steps before you use the Macro Recorder.
If you make any unnecessary steps it will create more code than is actually needed.
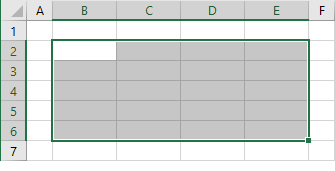
Lets rehearse the steps first. Highlight the cells "B2:E6". Right mouse click and select Format Cells from the shortcut menu. Choose the Fill tab.
Select the colour you would like to apply to the current selection.
Press OK and the cells will be shaded.
 |
You are now ready to record the actual macro, so lets start by creating a new workbook.
Select (File > New) and create a new blank workbook.
Highlight the cells "B2:E6".
Record the Macro
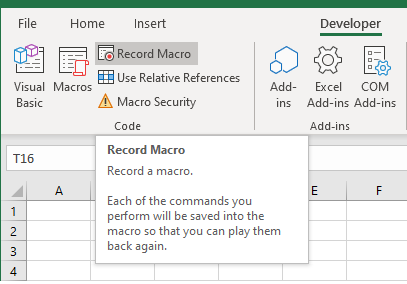
Display the Developer Tab and select "Record Macro" or use the button in the corner of the status bar.
 |
Give the macro the name "ApplyShading".
Make sure that the "store macro in" drop-down list has "This Workbook" selected.
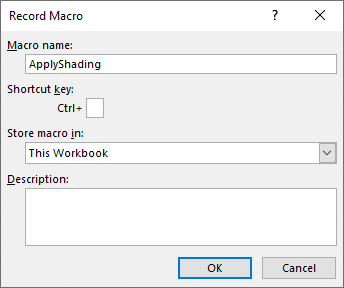 |
Press OK to start recording.
Right mouse click and choose Format Cells from the shortcut menu.
Select the Fill tab and choose the colour you want to apply to the current selection.
Press OK to apply the formatting to these cells.
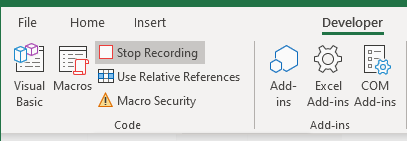
Press the "Stop Recording" button on the Developer Tab.
 |
Locating the Macro
Once you have recorded the macro viewing and editing the code can be done using the Visual Basic Editor.
Display the Developer Tab and press the Macros button.
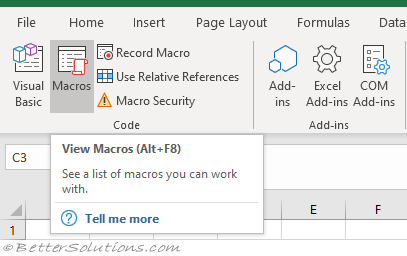 |
This displays the "Macro" dialog box that displays all the macros that are currently available.
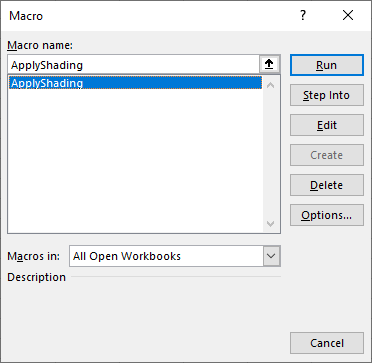 |
Select the name of your macro and press the "Edit" button. This will open the Visual Basic Editor in another window.
Using this method will locate the macro for you and will display the code module where the macro can be found.
Another application window should open and you should see the following lines of code.
Editing the Code
Notice that the name of the macro is added as a comment at the top of the subroutine.
Sub ApplyShading()
'
' ApplyShading Macro
'

   With Selection.Interior
      .Pattern = xlSolid
      .PatternColorIndex = xlAutomatic
      .ThemeColor = xlThemeColorAccent4
      .TintAndShade = 0.399945066682943
      .PatternTintAndShade = 0
   End With
End Sub
Highlight the cells G2:J6 and run this macro. This same shading will be applied to these cells.
The Macro Recorder will always include some lines of code that can be removed.
The above macro could be simplified significantly and the result would be exactly the same.
Writing Efficient Code
The first thing to remove is the comments. These are lines that start with a " ' " and are displayed in green in the Visual Basic Editor.
The following macro performs exactly the same action as the macro that was recorded, although this macro is significantly more efficient and will therefore run a lot faster.
Sub ApplyShading()
    Selection.Interior.ColorIndex = 50
End Sub
For small macros speed is not that important. Both the above macros will only take a split second to run so you will probably not even notice a difference.
For larger, more complicated macros, speed becomes more of an issue. It is very easy to write a macro that works, but it requires a lot of practice to write a macro that is efficient.
Running
Being able to write macros directly into the code window will take some practice but the Macro Recorder is the best place to start if you want to learn more about the code.
Important
The AppActivate statement will appear a lot in your recorded macros. This statement just changes the focus to the named application or window but does not affect whether the window is maximised or minimised. These lines can be deleted with no consequence.
It is also important to remember that you do not need to select the cells, sheet, object, etc in order to be able to manipulate or format it. This can save a lot of time.
If you have recorded a macro that takes a few seconds to run and there appears to be a lot of flickering on the screen, it is possible to turn screenupdating off. Use the following line of VBA code to switch it off Application.ScreenUpdating = False and then always remember to switch it back to True at the end.
© 2026 Better Solutions Limited. All Rights Reserved. © 2026 Better Solutions Limited TopPrevNext