Text Wrapping
This has to be one of the most confusing aspects of using Word and there is no surprise when you consider that Text Wrapping appears in so many different places.
Text Around Graphics
The most common type of Text Wrapping can be used when you want your text to wrap around a graphic or picture.
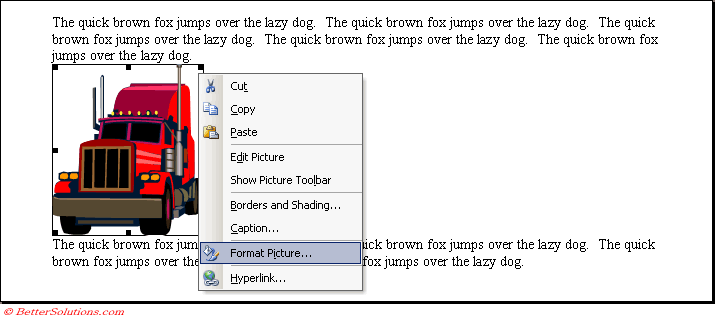
In this example we have inserted an item of clipart using the default Insert command.
The graphic will be inserted between your text and will not be wrapped by default.
Select the graphic and use the right mouse button to select Format Picture on the shortcut menu.
Alternatively you can select (Format > Picture) to display the same dialog box.
 |
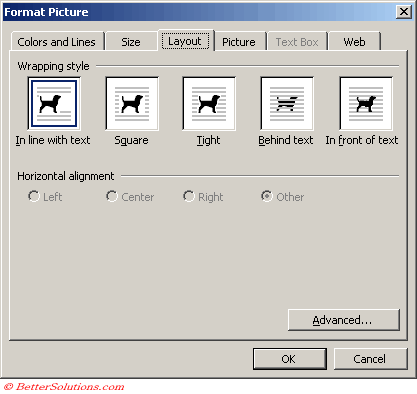
Format Picture Dialog Box
Although this dialog box always looks the same the actual tabs will vary slightly depending on the type of object that is selected.
In this example a Layout tab is displayed and it is this tab that controls the text wrapping.
Notice that the default text wrapping is "In line with text", meaning no wrapping.
 |
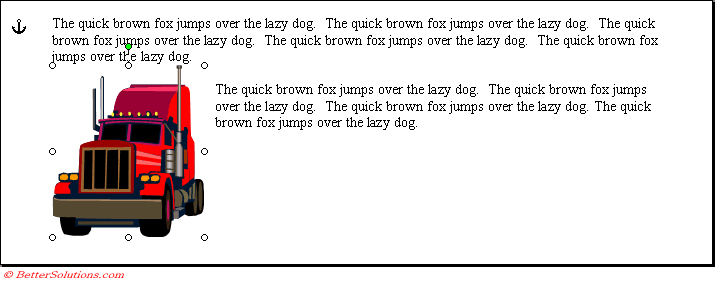
Square Wrapping
Change the text wrapping style to "Square" and press OK.
 |
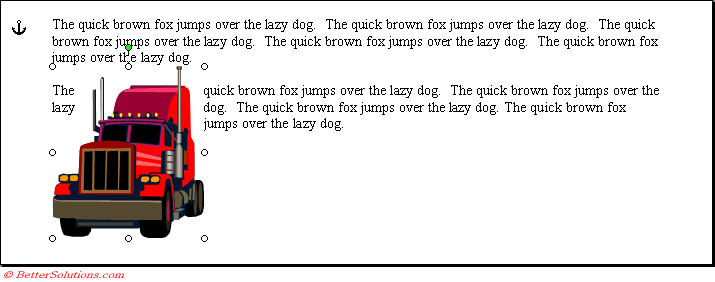
Tight Wrapping
Change the text wrapping style to "Tight" and press OK.
 |
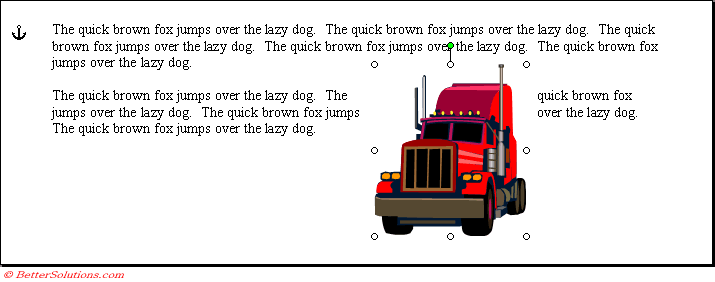
Behind Text Wrapping
Change the text wrapping style to "Behind text" and press OK.
 |
In Front of Text Wrapping
Change the text wrapping style to "In front of text" and press OK.
 |
Horizontal Alignment
These option buttons control the alignment of the graphic in relation to the text.
 |
Left - Aligns the graphic on the left of the text.
Center - Aligns the graphic in the middle of text.
Right - Aligns the graphic on the right of the text.
Other - Aligns the graphic in a different position.
 |
Advanced Layout Options
The Advanced button displays another dialog box which duplicated a lot of the controls on the Format Picture dialog box.
You should use the Advanced Layout dialog box when you need to do any of the following:
Use the "Through" text wrapping style.
Use the "Top and Bottom" text wrapping style.
Wrap text on just the "Left side only", "Right side only" or the "Largest side only".
Control the "distance from text" options to increase the space between the graphic and the text.
Lock the anchor.
Specify the position of the graphic in relation to margins or page.
© 2026 Better Solutions Limited. All Rights Reserved. © 2026 Better Solutions Limited TopPrevNext